|

Pictures provided are courtesy of Gaiser Tool Company
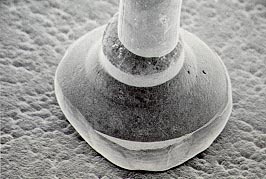
The following pictures detail ball bonds and the possible problems encountered when trying to create a successful wire bond.
Above is a pair of well made ball bonds- capable of strong shear and pull tests.
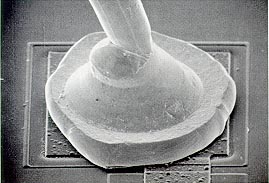
This off center ball, shown above, is a result of excessive torch voltage and/or a dirty torch wand. Voltage can be adjusted by the ball size potentiometer, which controls the voltage seen between the torch wand and the wire. The wand can be best cleaned with a small pencil eraser and rubbing alcohol.
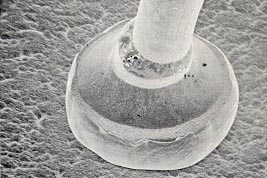
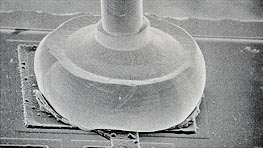
The picture above details a ball bond that has been made with a deformed ball. As you can see, the results are less than satisfactory. The pinched neck of the bond is easily broken and will result in poor pull tests.
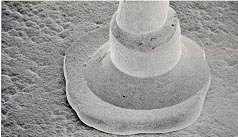
Another ball bond made with the use of a deformed ball. Notice how uneven the "collar" around the wire is.
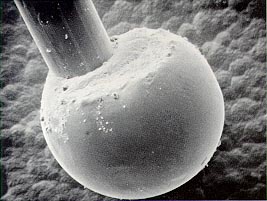
This bond has been made with an oversized ball. The setting was far too high on the ball size potentiometer.
This bond has been made with an undersized ball. The setting on the ball size potentiometer is too low and/or the tail length is too short.
This picture above shows a large ball that is under-deformed. Increase ultrasonic power, time, and force accordingly.
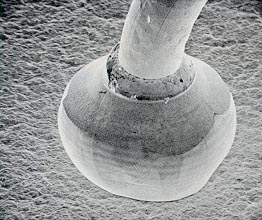
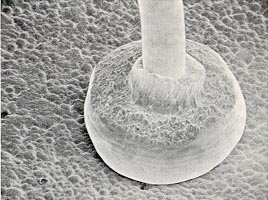
The rough surface seen on the top of this ball bond is due to an old, worn out tool. The ball appears to be well formed and bonded. It should pass wire pull and ball shear tests with high marks, however, it will fail a visual inspection.

1551 S. Harris Court, Anaheim, CA 92806 Anaheim, CA 92806
Phone: 714.978.1551 Fax: 714.978.0431
Products | News | Events
| Support | Corporate | Contact Us | Universities | Home
Manual Die Bonders | Manual Wire Bonders | Semi-Automatic Wire Bonders | Automatic Wire Bonders | Pull Test Machines
|